This might seem like more of “programmer-oriented” article, but in a way, creating flow templates is a little like programming. You must model your business practice to make sure that the flow does what it is supposed to do. As such, you must make sure that if you diagrammed your flow, all the steps not only go “somewhere” but to the step you intend in the situation you intend.
In Vista Workflow, an auto-decision step is different from a simple approval step in that you can define any number of scenarios and specify what the flow should do in each of them. But, it can be easy to forget about some situations, which is where the auto-decision “else” comes in handy.
As an example, let’s say your company is in Camden, NJ, which is right over the river from Philadelphia, PA. You put in place an address change workflow that includes a step to determine if the employee moved from NJ to PA or from PA to NJ (e.g., so that payroll and/or health benefits can be handled differently).
So you use an auto-decision step, and it looks something like this:
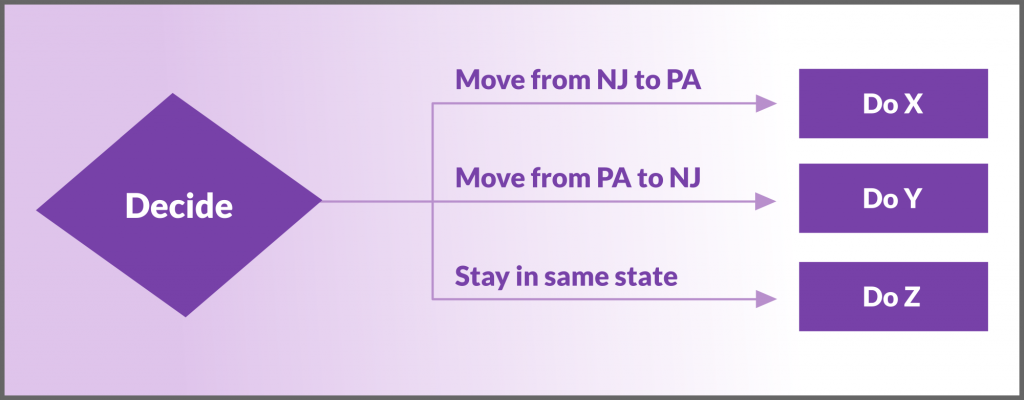
The problem, though, is you didn’t consider that an employee might move the Wilmington, DE (still a reasonable commute to Camden), or to anywhere else. In the above model, the flow gets stuck because you never told it what to do if the person moves outside of NJ or PA.
This is where the auto-decision “else” test comes into play. Always add it as your final condition to ensure that your flow covers all scenarios.
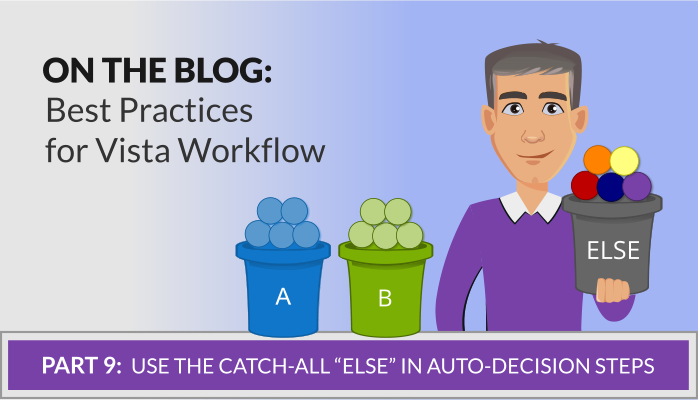
This article is part of the Workflow Best Practices series. Don’t forget to check out our last article on using late notifications, auto-redirecting, and auto-rerouting. Click to continue on to our next article, Don’t Overcomplicate Your Flow Models.
Marco Padovani
Senior Development Manager | PDS
mpadovani@pdssoftware.com